Setup Kubeflow
Kubeflow is an open-source platform for machine learning and MLOps on Kubernetes introduced by Google.
Note
Omnia 1.6.1 does not support deploying both Kserve and Kubeflow in the same Kubernetes cluster. If Kserve is already deployed on the cluster and you wish to deploy Kubeflow, you must first remove Kserve by following the steps here.
Prerequisite
Ensure that you have executed local_repo.yml with Kubeflow specified in the software_config.json file.
Deploy Kubernetes
First, ensure that you have a Kubernetes cluster deployed on your compute node.
For instructions to set up Kubernetes, click here.
Note
The playbooks automate the process, ensuring consistency across deployments.
Deploy Kubeflow
Change directories to
tools:cd tools
Execute the
kubeflow.ymlplaybook:ansible-playbook kubeflow.yml -i inventory
Sample inventory:
[kube_control_plane]

10.5.1.101

[kube_node]

10.5.1.102

10.5.1.103
Note
Ensure that the inventory format aligns with the Kubernetes installation on the cluster.
Verify the status of Kubeflow installation
To verify the status of Kubeflow installation, use the following command:
kubectl get pod -n kubeflow
Obtain External IP of Ingress Gateway
Once Kubeflow is deployed, you need to obtain the external IP address of the ingress gateway. Check the external IP address of the ingress gateway using command-line tools like kubectl. This IP address will be used to access the Kubeflow dashboard. Run the following command:
kubectl get svc -A
Accessing the Kubeflow Dashboard
After obtaining the external IP address of the ingress gateway, you can access the Kubeflow dashboard using a web browser.
Instructions to access Kubeflow dashboard:
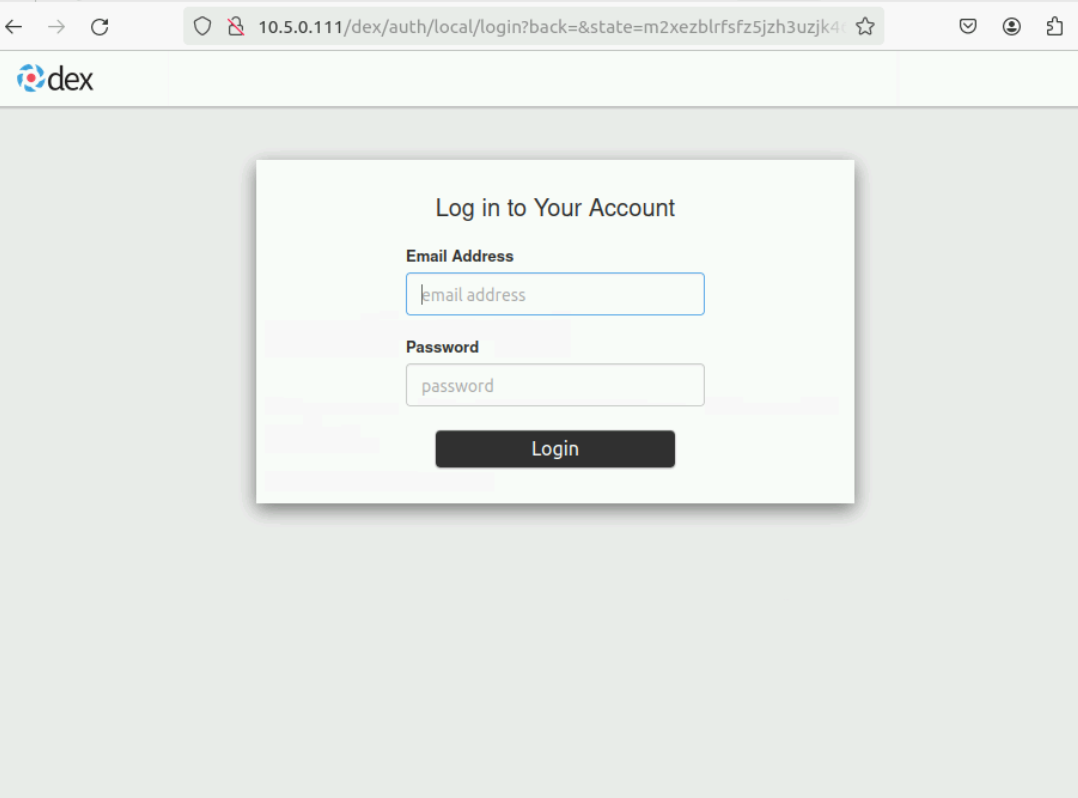
Open any browser of your choice and go to
http://external_ip:80.You will be redirected to the Dex login page. You can find a sample image below.
Login to the Kubeflow dashboard
To log in to the Kubeflow dashboard and start using its features, you need to provide the default username and password. For more information, click here.
The Kubeflow manifest documentation is present here.
Note
Refer to image pull in case of ImagePullBackOff issue while deploying any user defined task.
Remove Kubeflow
Change directory to
/opt/omnia/kubeflow/kubeflow.Run either of the following commands:
The above command tries to delete resources in loop. You can verify that all resources are deleted and halt the command’s execution if it doesn’t stop automatically after some time.
The second command does not utilize a loop and can be used as well, but the user needs to ensure that all resources are deleted. Re-run the command until all resources are deleted.
Note
If any pods are found under the namespace
kubeflow-user-example-com, delete the namespace with the following command:kubectl delete namespace kubeflow-user-example-com
If you have any feedback about Omnia documentation, please reach out at omnia.readme@dell.com.