Setup Jupyterhub
Using Jupyterhub helm chart (version 3.2.0), Omnia installs Jupyterhub (version 4.0.2) on Kubernetes clusters. Once Jupyterhub is deployed, log into the GUI to create your own Jupyter notebook. For more information, click here.
Prerequisites
Ensure that Kubernetes is deployed and all pods are running on the cluster.
MetalLB pod is up and running to provide external IP to jupyterhub service.
Ensure the passed inventory file includes
kube_control_planeandkube_nodegroups. Click here for a sample file.Review the
tools/jupyter_config.ymlfile to ensure that the deployment meets your requirements. If not, modify the file.Run
local_repo.ymlwithjupyterentry insoftware_config.json.Omnia deploys the
quay.io/jupyterhub/k8s-singleuser-sample:3.2.0image irrespective of whether the intended notebooks are CPU-only, NVIDIA GPU, or AMD GPU. To use a custom image, modify theomnia/tools/roles/jupyter_config.ymlfile.Ensure that NFS storage provisioner has been deployed on the cluster using
storage.ymlfollowed byscheduler.ymloromnia.yml. Verify that the required NFS storage provisioner is deployed using the below command:[root@node3 ~]# kubectl get pod -A NAMESPACE NAME READY STATUS RESTARTS AGE default nfs-omnia-nfs-subdir-external-provisioner-54785fccd-9mp8z 1/1 Running 1 (12m ago) 3h24m
Verify that the default storage class is set to nfs_client for dynamic persistent volume provisioning.
[root@node3 ~]# kubectl get storageclass
NAME                   PROVISIONER                                               RECLAIMPOLICY   VOLUMEBINDINGMODE   ALLOWVOLUMEEXPANSION   AGE
nfs-client (default)   cluster.local/nfs-omnia-nfs-subdir-external-provisioner   Delete          Immediate           true                   17h
Deploying Jupyterhub
Change directories to the
toolsfolder:cd tools
Run the
jupyterhub.ymlplaybook using:ansible-playbook jupyterhub.yml -i inventory
Note
The default namespace for deployment is jupyterhub.
Accessing the Jupyterhub GUI
Login to kube control plane and verify that the Jupyterhub service is running.
Find the IP address of the Jupyterhub service using:
root@omnianode0000x:/usr/local# kubectl get svc -A
NAMESPACE     NAME           TYPE           CLUSTER-IP      EXTERNAL-IP   PORT(S)                  AGE
default       kubernetes     ClusterIP      xx.xx.xx.xx      <none>        443/TCP                  2d2h
jupyterhub    hub            ClusterIP      xx.xx.xx.xx      <none>        8081/TCP                 2d2h
jupyterhub    proxy-api      ClusterIP      xx.xx.xx.xx      <none>        8001/TCP                 2d2h
jupyterhub    proxy-public   LoadBalancer   xx.xx.xx.xx   xx.xx.xx.xx    80:31134/TCP               2d2h
The IP address is listed against
proxy-publicunderExternal IP.The Jupyterhub GUI should be accessible from the
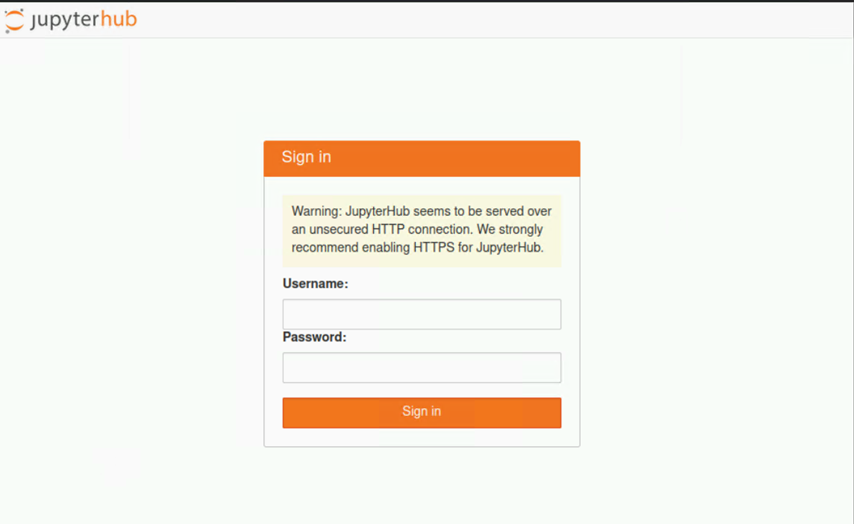
kube_control_planevia the external IP mentioned above. Use any browser to log in. Currently Jupyterhub authentication is not linked with openLDAP.
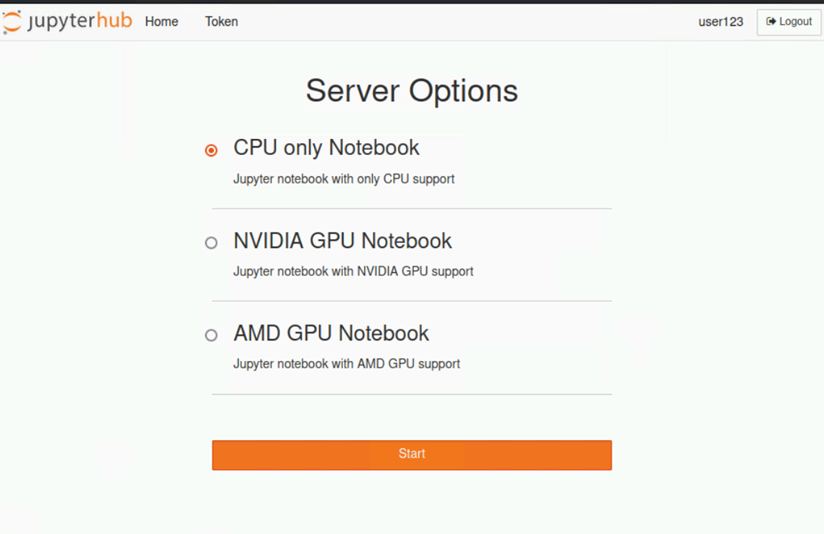
Choose your preferred notebook server option and click Start. A pod will be created for the user.
Stopping the Notebook server
Click File > Hub Control Plane.
Select Stop Server.
Note
Stopping the notebook server only terminates the user pod. The users data persists and can be accessed by logging in and starting the notebook server again.
Redeploy Jupyterhub with new configurations
Update the
tools/jupyter_config.ymlfile with the new configuration.Re-run the
jupyterhub.ymlplaybook.cd tools ansible-playbook jupyterhub.yml -i inventory
Clearing Jupyterhub configuration
Clear the existing configuration by running the below command:
kubectl delete ns jupyterhub
If you have any feedback about Omnia documentation, please reach out at omnia.readme@dell.com.