Provisioning the cluster
Edit the input/provision_config.yml, input/provision_config.yml, and input/network_spec.yml files to update the required variables. A list of the variables required is available by discovery mechanism.
Note
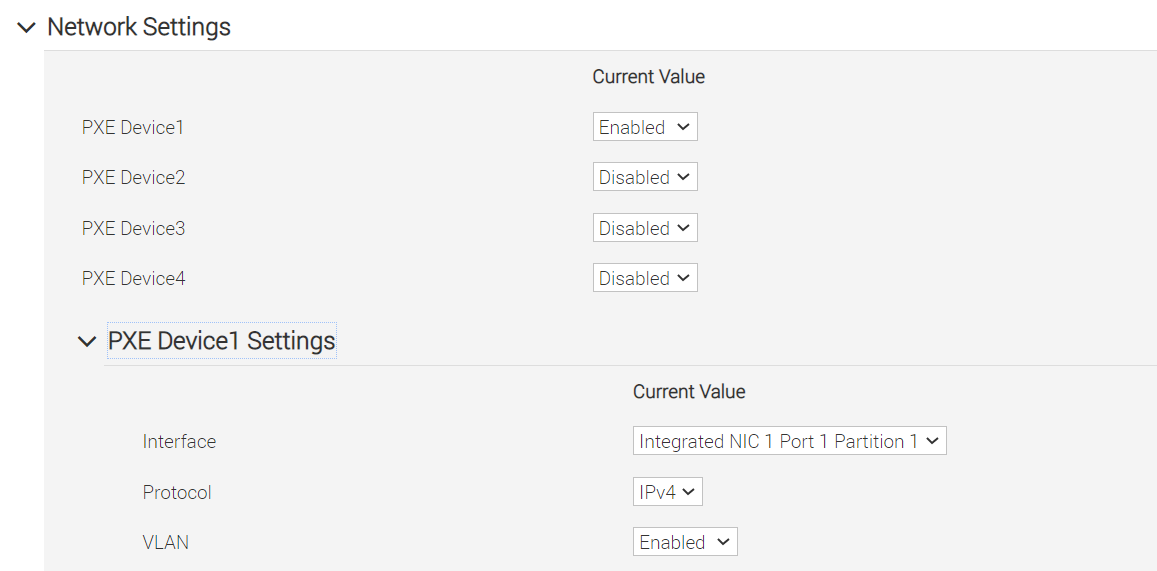
The first PXE device on target nodes should be the designated active NIC for PXE booting.
[Optional] Additional configurations handled by the provision tool
Disk partitioning
Omnia now allows for customization of disk partitions applied to remote servers. The disk partition
desired_capacityhas to be provided in MB. Validmount_pointvalues accepted for disk partition are/var,/tmp,/usr,swap. The default partition size provided for RHEL/Rocky Linux is /boot: 1024MB, /boot/efi: 256MB and remaining space to / partition. Default partition size provided for Ubuntu is /boot: 2148MB, /boot/efi: 1124MB and remaining space to / partition. Values are accepted in the form of JSON list such as:disk_partition: - { mount_point: "/var", desired_capacity: "102400" } - { mount_point: "swap", desired_capacity: "10240" }
Running the provision tool
To deploy the Omnia provision tool, ensure that input/provision_config.yml, input/network_spec.yml, and input/provision_config_credentials.yml are updated and then execute:
ansible-playbook discovery_provision.yml
Note
If the
input/software_config.jsonhas AMD ROCm, Intel Gaudi, and NVIDIA CUDA drivers mentioned, the AMD, Intel, and NVIDIA accelerator drivers are installed on the nodes post provisioning.Omnia recommends to install the Intel Gaudi driver post provisioning using the
accelerator.ymlplaybook in case the node has internet connectivity during provisioning. For more information, click here.
Caution
If you intend to configure additional NICs during provisioning, ensure that you are aware of the network and NIC details of the cluster.
You can only use the below [optional] functionality on new nodes (during first provisioning). Nodes which have already been provisioned and are in booted state can’t be modified with a re-run of
discovery_provision.ymlplaybook.For a node in the “booted” state, configuring additional NICs or kernel parameter changes is not possible with a re-run of the
discovery_provision.ymlplaybook. Instead, use theserver_spec_update.ymlplaybook to make any changes to the “booted” node. For more information, click here.
[Optional] Configure additional NICs, assign IP rules, and specify Kernel Parameters on the nodes during cluster provisioning
To do this, you need to add the necessary inputs to the input/network_spec.yml and input/server_spec.yml and then run the discovery_provision.yml playbook with your created inventory file. For more information on what inputs are required, click here.
After you’ve provided all the necessary inputs, provide the file path to the inventory file and execute the following command to invoke the playbook:
ansible-playbook discovery_provision.yml -i <inventory_filepath>
Stages of the provision tool
Caution
Always execute discovery_provision.yml within the omnia directory. That is, always change directories (using cd omnia) to the path where the playbook resides before running the playbook.
The provision tool, invoked by the discovery_provision.yml playbook, runs in three stages that can be called individually:
Stage 1: Preparing the OIM
Installs required tool packages.
Verifies and updates firewall settings.
Installs xCAT.
Configures Omnia databases basis
input/network_spec.yml.Creates empty inventory files on the OIM at
/opt/omnia/omnia_inventory/. These inventory files will be filled with information of compute node service tag post provisioning based on type of CPUs and GPUs they have. The inventory files are:
compute_cpu_amd
compute_cpu_intel
compute_gpu_amd
compute_gpu_nvidia
compute_gpu_intel
compute_hostname_ipNote
Service tags will only be written into the inventory files after the nodes are successfully PXE booted post provisioning.
For a node’s service tag to list in an inventory file, two conditions must be met:
Node status must be “booted” in DB.
Node’s service tag information is present in DB.
Nodes are not removed from the inventory files even if they are physically disconnected. Ensure to run the delete node playbook to remove the node.
To regenerate an inventory file, use the playbook
omnia/utils/inventory_tagging.yml.cd prepare_oim ansible-playbook prepare_oim.yml
Stage 2: Discovering the nodes
Discovers all target servers.
PostgreSQL database is set up with all relevant cluster information such as MAC IDs, hostname, admin IP, BMC IPs etc.
Configures the OIM with NTP services for cluster node synchronization.
To call this playbook individually, run:
cd discovery
ansible-playbook discovery.yml
Stage 3: Provisioning the nodes
The intended operating system and version is provisioned on the primary disk partition on the nodes. If a BOSS Controller card is available on the target node, the operating system is provisioned on the boss controller disks.
To call this playbook individually, run:
cd provision
ansible-playbook provision.yml
Note
If you are using
switch_baseddiscovery mechanism, you do not need to runprovision.ymlplaybook. Runprepare_oim.ymlanddiscovery.ymland then manually boot the nodes in PXE mode.After executing
discovery_provision.ymlplaybook, user can check the log file available at/var/log/omnia.logfor more information.racadm and ipmitool are installed on all target nodes except Ubuntu 20.04.
Ansible playbooks by default run concurrently on 5 nodes. To change this, update the
forksvalue inansible.cfgpresent in the respective playbook directory.While the
admin_nicon cluster nodes is configured by Omnia to be static, the public NIC IP address should be configured by user.If the target nodes were discovered using switch-based or mapping mechanisms, manually PXE boot the target servers after the
discovery_provision.ymlplaybook is executed and the target node lists as booted in the nodeinfo table.All ports required for xCAT to run will be opened (For a complete list, check out the Security Configuration Document).
After running
discovery_provision.yml, the fileinput/provision_config_credentials.ymlwill be encrypted. To edit the file, use the command:ansible-vault edit provision_config_credentials.yml --vault-password-file .provision_credential_vault_keyPost execution of
discovery_provision.yml, IPs/hostnames cannot be re-assigned by changing the mapping file. However, the addition of new nodes is supported as explained here.
Caution
Once xCAT is installed, restart your SSH session to the OIM to ensure that the newly set up environment variables come into effect. If the new environment variables still do not come into effect, enable manually using:
source /etc/profile.d/xcat.sh
To avoid breaking the password-less SSH channel on the OIM, do not run
ssh-keygencommands post execution ofdiscovery_provision.ymlto create a new key.- Do not delete the following directories:
/root/xcat/root/xcat-dbback/docker-registry/opt/omnia/var/log/omnia/opt/omnia171_venv/
On subsequent runs of
discovery_provision.yml, if users are unable to log into the server, refresh the ssh key manually and retry.ssh-keygen -R <node IP>
If a subsequent run of
discovery_provision.ymlfails, theinput/provision_config.ymlfile will be unencrypted.
Next steps:
Create a node inventory in
/opt/omnia. To know more, click here.After creating an inventory, go to Configure the cluster to build a cluster and set up Kubernetes, NFS, BeeGFS, and Authentication.
If you have any feedback about Omnia documentation, please reach out at omnia.readme@dell.com.